Polyphase Class Onboarding
- FOR INSTRUCTORS - setting up accounts and chatroom for a new polyphase course
- FOR STUDENTS - accessing the polyphase chatroom
- how to set up OBS for capturing external video
- test
FOR INSTRUCTORS - setting up accounts and chatroom for a new polyphase course
when starting a new polyphase portal course we want to create a chatroom where all members of the course can communicate.
this guide will walk through the steps to set this up.
1. collecting information from students
first step is to collect the information from the students needed to set up this up. here is the info required:
- the students email - you should already have this from when they signed up for the course
-
optional: their preferred matrix user_id - your display name in the chatroom can be changed at any time, however your user_id (for example
@cyberboy666:polyphaseportal.xyz) is fixed on creation - therefore it could be nice to ask if people have a preference for this - the fallback if none is given is to use the username of the email provided (egtimif the email wastim@cyberboy666.com)
2. prepare info and run onboarding helper script
the next step is to run the onboarding helper script that we use to create new accounts and add them to a new chatroom - you will need admin access to the polyphase servers to do this step - ask for help on this step if you do not have these permissions:
- prepare the class info (email address + optional account handle name) into a python readable nested list like this:
["a@mail.com", "a_name"], [“b@mail.com”, “”], …
(where empty string in handle name will default to start of email address)
- Grab your matrix access token from the settings in element -> all settings -> help & about -> access token

- grab the polyphase-rooms server ip-address and password from admin shared password store
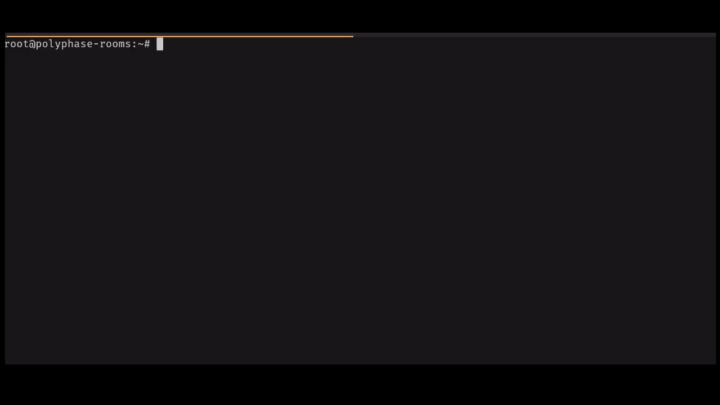
- ssh onto the rooms server: from terminal type in
ssh root@<ip-address>and then give server password when prompted - if your terminal now saysroot@polyphase-rooms:~#you are in the right place! - run the helper script by typing:
python3 polyphase_onboarding_helper.pyand follow the prompts
3. sharing login info with students
now that the accounts have been created you can let the students know and ask them to try and login. their temperary password is the same as their email address - they will be forced to set a new password on first login.
you can also link them to this wiki page with some more info about logging in and setting up chatroom on mobile through the element app - FOR STUDENTS - accessing the polyphase chatroom
FOR STUDENTS - accessing the polyphase chatroom
Polyphase Portal runs on self-hosted open-source infrastructure. this is to ensure we hold the power to meet our specific software needs, to protect the data and privacy of our users and to allign with our collective ethics.
our chatroom is using the open-source messaging protocol matrix and the frontend client element
access polyphase chatroom from a browser
- go to the webpage matrix.polyphaseportal.xyz
- this will redirect you to our polyphase login page:
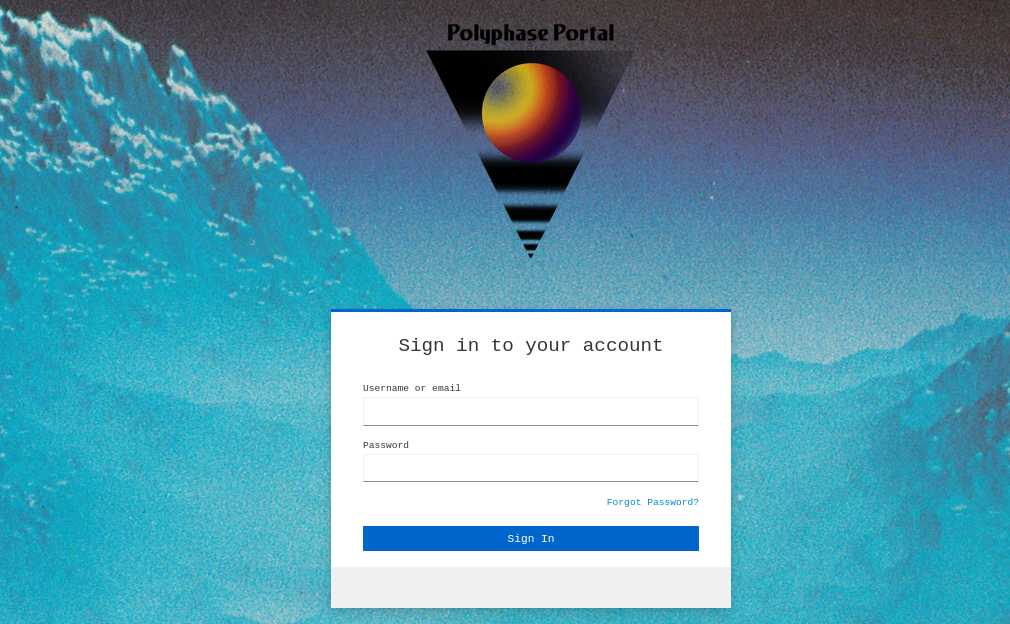
if this is your first time logging in then put your EMAIL into both fields
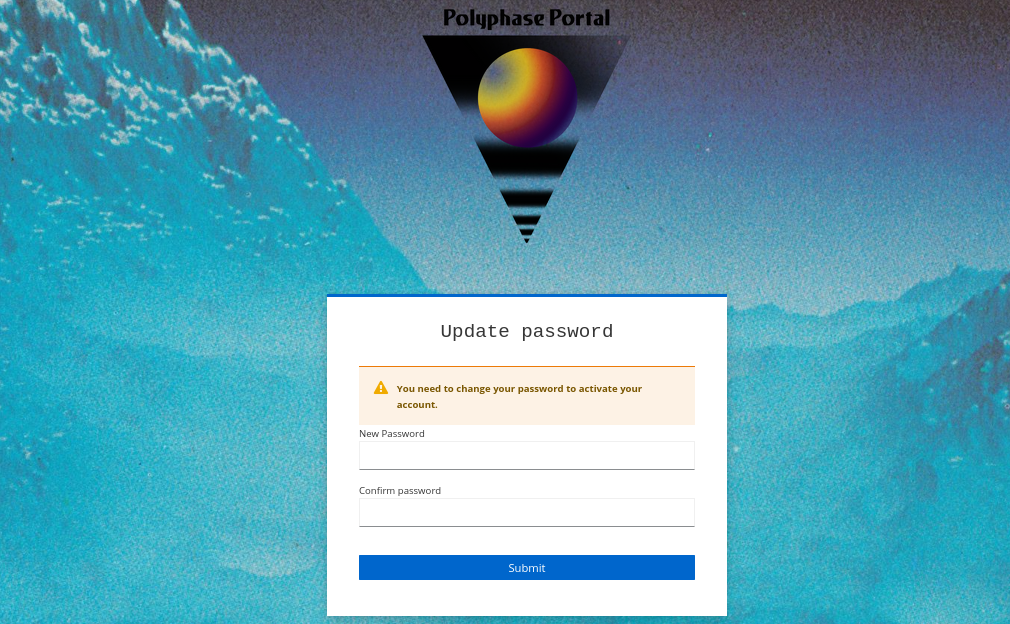
- you will then be forced to set a new password:
- before proceeding to the chatroom:


on the left hand side you should already see the chatroom for the course you have signed up for.
you can also explore the public rooms (such as our main welcome room) by clicking the + button next to Home and then join public room
access polyphase chatroom from the mobile app
if you want to access the chatroom from your phone you can download the element app from your chosen app store
when logging in through the app you just need to tell it which server you are joining: polyphaseportal.xyz (since there are many different communities using different instances of this same software)
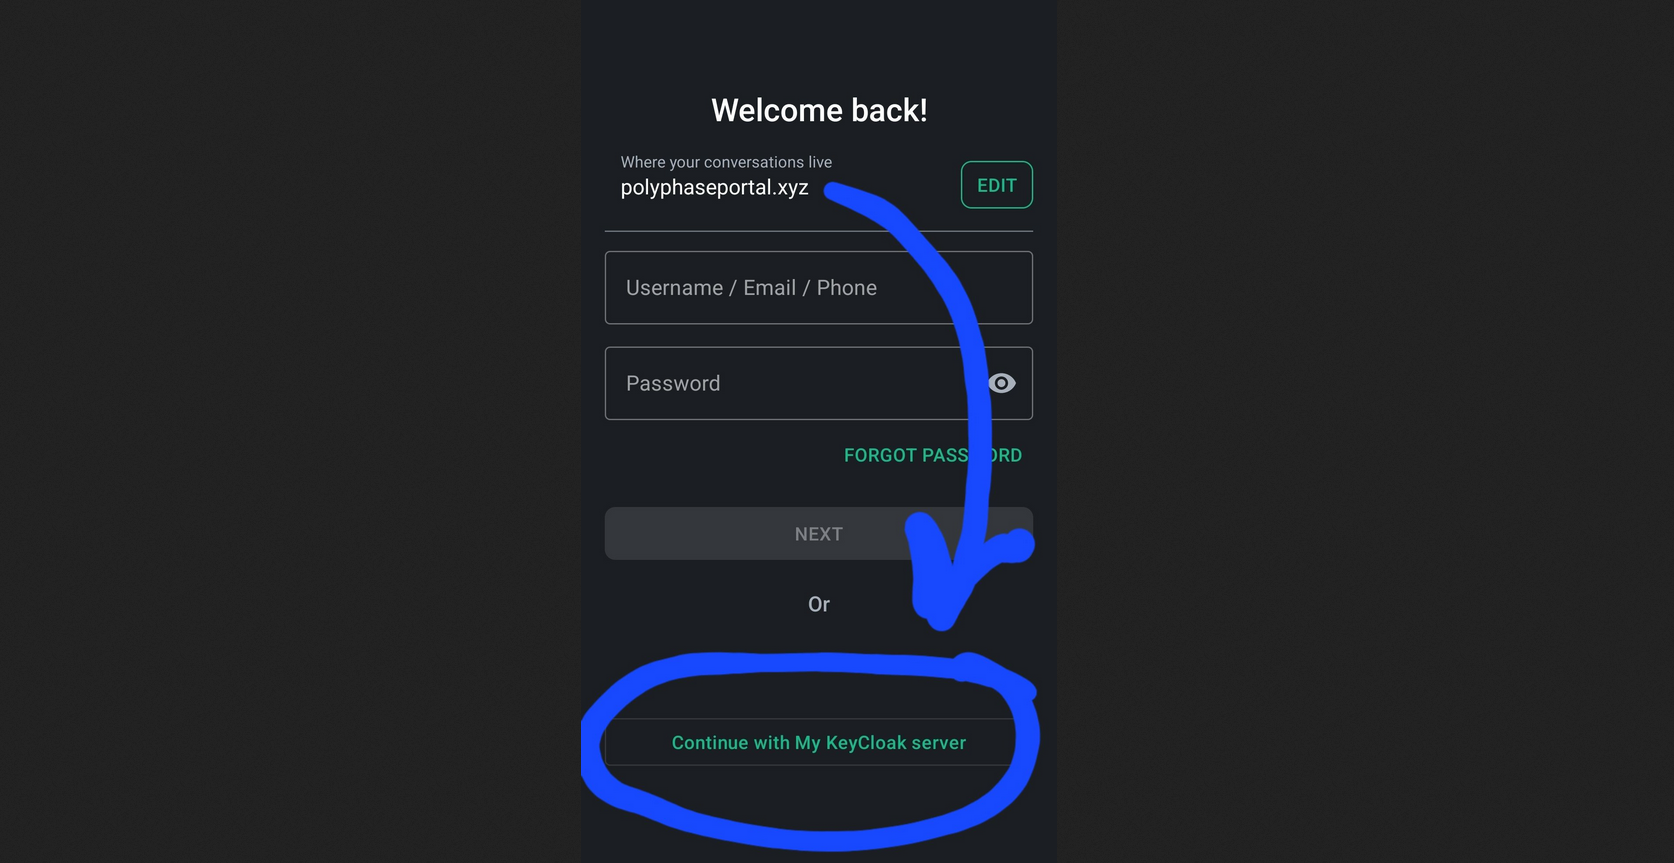
- when you see this login screen in the app you need to first put in the server name up top - press
EDITunder where your conversations live and enter inpolyphaseportal.xyz - next you need to SKIP PAST THE USERNAME AND PASSWORD FIELD and scroll down to the button
Continue with My KeyCloak server - this will take you to our polyphase login page (with the blue mountains) where you need to enter email and password
- same as above if it is your first time logging into your account put your EMAIL into both fields - you will be forced to set a password before taken to the app
how to set up OBS for capturing external video
FOR ANALOG VIDEO ON BREADBOARD STUDENTS
in the foundations of analog video on breadboard class we are working with VGA analog video signals on breadboard. to display and capture the output from our breadboard the default method is to convert VGA to HDMI and then use a USB HDMI capture card to input this video to a computer
on the computer we will use a software called OBS - Open Broadcaster Software to display the incoming signal.
- download obs for your platform
- plug in one of your hdmi cables with one end into the hdmi output on your computer and the other end into your USB_VIDEO_CAPTURE -> then that usb back into the computer
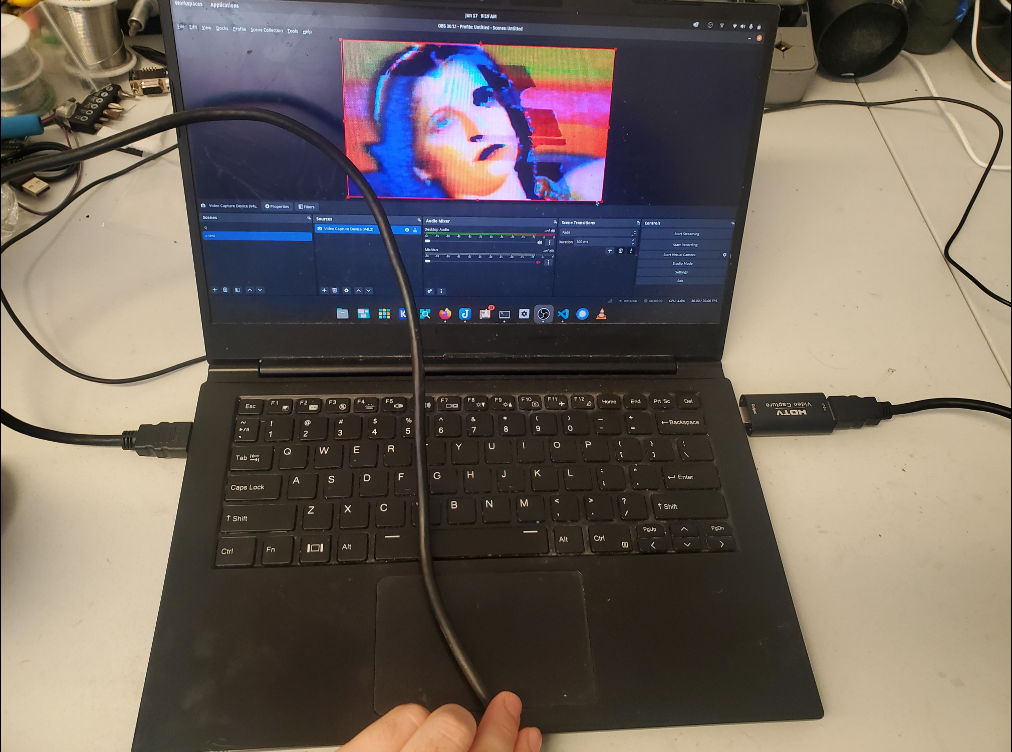
- open the program and find the sources in bottom left of screen
- click + to add a new source with type Video Capture Device then click ok on create/select source
- now under the properties for video capture device you should see an option under device that says USB VIDEO
- you should be able to see your computer desktop on the input ! that means its working wahoo!
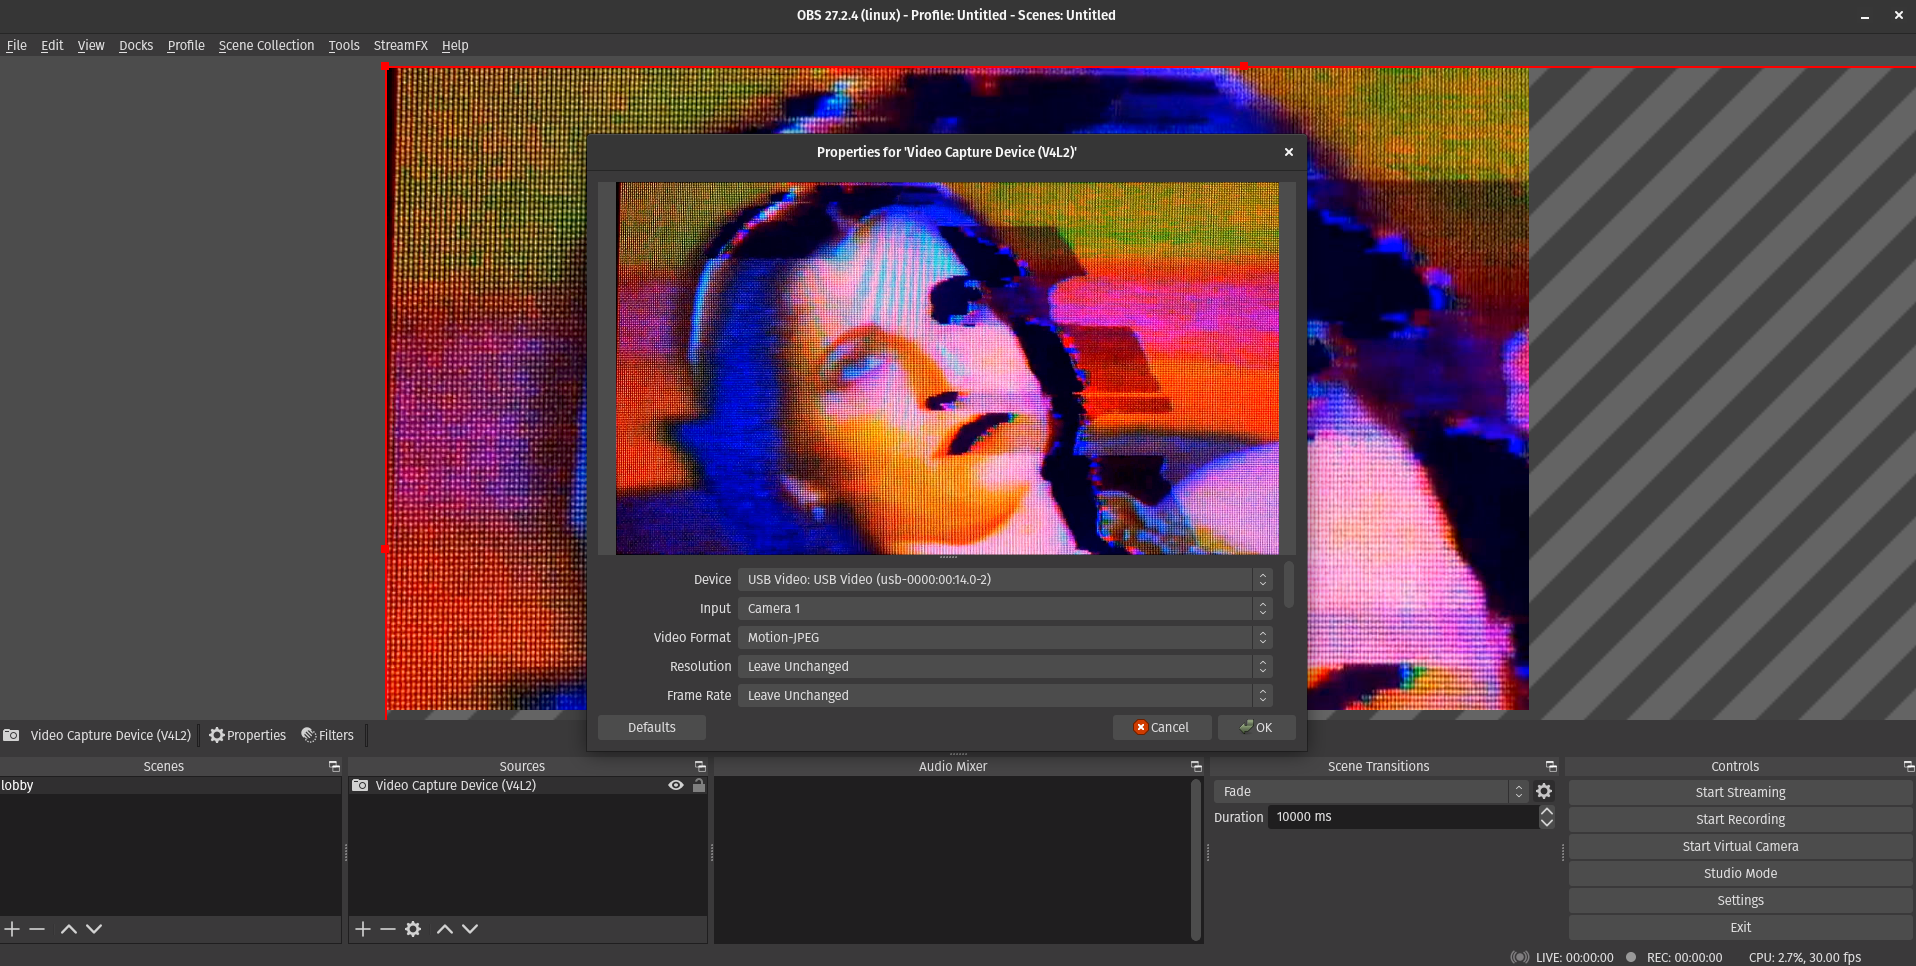
- if you see colour bars this mean it is finding the usb capture but not getting a signal on it - try unplugging and plugging in the hdmi at output end
- if you dont see the USB VIDEO device coming up this means it is not finding the capture device - try plugging it into another usb port and restarting obs
test
test